Showing posts with label Plumbing Pipe. Show all posts

Thursday, May 29, 2014

Our Closet Makeover Part 2


Genius ideas are fabulous, especially when they actually work. Mid closet rod upgrade I had a thought that I instantly believed could improve life as I knew it and take this closet of ours from good to great. The idea? Hold on to your seats....A sliding full length mirror. Think full-on Beauty & the Beast sliding ladder style.

The idea manifested from pure need. Would you believe we've gone over a year without a full length mirror in this house? Here I am a girl that very much considers every aspect of an outfit - and for one whole year in order for me to see my outfit in it's entirety each morning I had to stand atop the toilet. You can imagine how glamorous I felt...We've been on the hunt for a full length mirror for a while, but didn't know where we would put it. All walls are occupied in our master bedroom and while we could integrate one into the master bath, there was no clear cut place in there either.

It wasn't until we were smack dab in the middle of our closet rod upgrade that it occurred to me that we could install one more piece of plumbing pipe the full length of the closet and then hang a mirror from the pipe that would slide from side to side.  Told ya - genius....


Pretty snazzy, right? But wait, the other thing about ideas, especially genius ones, is you have to be able to actually execute them. That's where my husband, Brent-the-brain comes in.  He did some thinking and came up with a plan to make my sliding mirror dreams come true.

Here was our process:

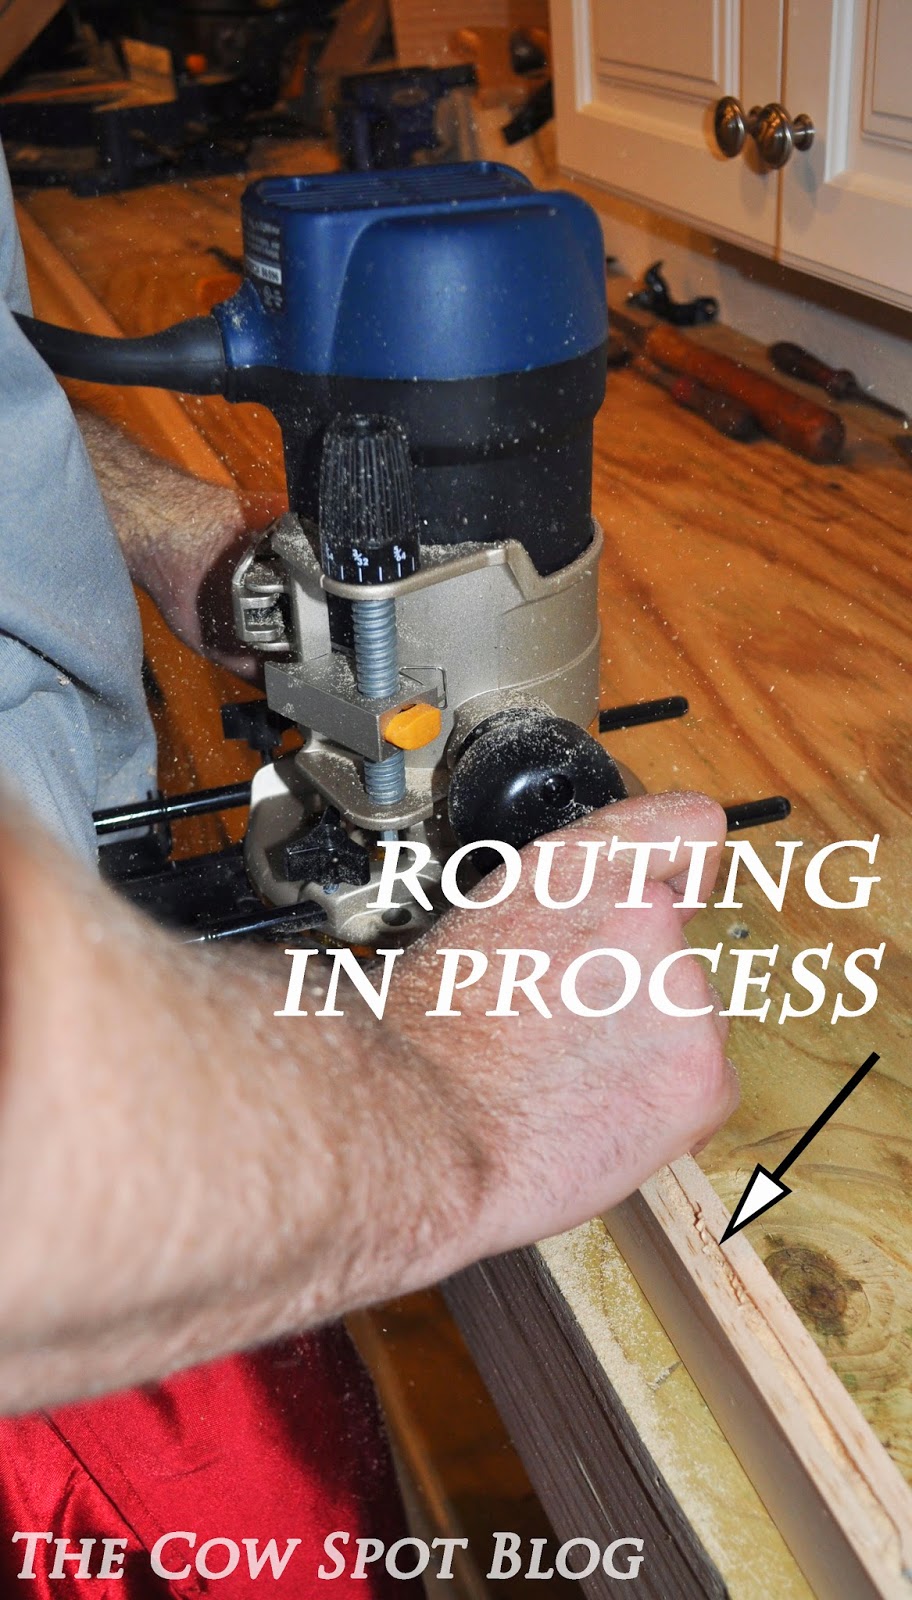
We bought some 2" x 1" pine lumber for the mirror frame. Using his router, Brent bored a 1/4" channel down the center of each piece to house the mirror glass.

We purchased a 16" x 60" mirror, so Brent miter cut the pieces of the frame and then used a joiner tool to fasten the frame together. 


Once assembled we sanded the entire frame smooth. 


Next Brent started assembling the track mechanism using a 2" x 2" and some cute little wheels purchased at Home Depot. 


Once all pieces were assembled, we stained the wood using Varathane's Ebony stain. We wanted the mirror frame to be very dark so it would blend with the black pipe. 


We let the pieces dry and then Brent slid the mirror glass into the frame. Luke was always close by supervising the progress. He like mirrors too, I mean the man is wearing a tux 24/7. He likes to admire his studly self.


To create a tight fit, Brent flipped the mirror over installed wood shims and filled the gaps in the back with silicone.


Next up we installed the plumbing pipe across the length of the closet. For this piece we used the 1" thick pipe and fastened it to the top shelf using U-bolts.


Below is the finished track mechanism. The pipe fits perfectly between the 4 wheels for a gentle slide. 


Brent fastened the sliding mechanism to the back of the mirror. 

*Alert*Alert* we have our first Shirtless-Shearer sighting of the season!


And then attached it to the pipe. 


Below is a little video we did to demonstrate how the mirror works. 
(if video has stopped, just reload this page)


Zip, zip from one side of the closet to the other. So simple and effective. I can now take the most perfect full outfit selfies, so obviously dreams are just coming true left and right around here :) We briefly worried the mirror would stick out too far and make the closet feel small and crowded but it doesn't. In fact the mirror actually gives the closet depth and makes it seem bigger. After living with the installation for a few days, we have no complaints - only praise for our new favorite toy! 

Fun fact: This entire contraption cost under $100.

All photos are my own. 

Wednesday, May 21, 2014

Our Closet Makeover


So, we sorta kinda accidentally updated our closet. Yes, you read that right and no I'm not necessarily the luckiest person in the world, but I'm pretty close ;)

Ok, so how does one go about accidently updating their closet? Good question...

Let me start from the beginning....Our house actually came with a pretty great master closet set-up. If you've ever been in a 1940's bungalow you know that storage space is not one of their strong suites. In fact, typically the closets are so painfully small that most girls would break into a panic attack upon laying eyes on them. However, Brent and I really lucked out because the previous owners added an entire second level to our home, adding a full master suite complete with a walk-in closet.

JACKPOT

We were all smitten and grateful for our closet for close to a year, but then a certain oka.B photo shoot took place at our house and we had to remove a lot of the clothes from the closet for this shot:

Photo by Peter Ho Studio.
You know how it goes, once you tear something apart it's real tough to just throw it back together without taking a moment to re-evaluate. So, with our closet partially dismantled we decided to edit our clothing and consider some issues we had observed over the past year, namely a couple of sagging rods.


This little dilemma just wouldn't do, you see - We  I gots lots of clothes... and we didn't really see that changing anytime soon. We decided to capitalize on the half empty closet and remedy this issue before a rod snapped and the entire closet went to shambles. First things first, we had to empty out the rest of the clothes....


All the shoes too....


With our closet emptied out it was time to get crackin' on some new rods. As we considered our options, we knew we wanted to use a material that would be very strong, so the sagging wouldn't become an issue in the future. We knew metal would be stronger than wood and coming fresh off our DIY Console Table project where we used plumbing pipes, we decided the same material would be a cool concept for our closet rods as well.

There are rods in 5 different areas of the closet, so we took some measurements to determine the length of each space. Just like with the console table we had the guys at Home Depot cut and thread the pipes to our desired lengths.


We assembled the rods, joints and flanges to form T's for the top of the closet and one cross piece at the bottom. 


Once assembled, Brent spray painted all of the pieces black so everything would be uniform. 

Installation was pretty simple. To begin Brent measured to ensure the clearances were appropriate for the hangers. Next he made sure each rod was level and then simply screwed the flanges to the wall. 


Everything fit together seamlessly and I really love the unexpected industrial vibe the plumbing parts create.


Plumbing parts in a closet...random yes, but oh so effective! This concept was relatively inexpensive and totally customizable, not to mention these pipes could hold up a dangling linebacker. It was just the solution we needed and we really like how it turned out. In fact we liked it so much our little brains kept ticking away and before we knew it we had come up with another random, possibly genius idea, that we went for. Unfortunately for now I'm going to have to leave you with a big fat dot dot dot here:
. . .
(I'm feeling literal today)

Adding it to this post would make for one ginormous post and I just don't feel like getting carpal tunnel this early in life, so I'm going to be sharing part 2 with you next week. You know the drill, stay tuned! 

Unless otherwise noted all photos are my own.