Sunday, June 30, 2013

Brass to Blue

Meet our dining room chandelier.


How many of these have you seen in your life?  A million, right? Yeah, me too. 

So when our new house had this bad boy hanging in the dining room we were not surprised, nor thrilled. We just decided to let it hang as the room evolved and then we would decide what we wanted to do with it. Keep it, change it, toss it.

Initially I was in favor of keeping it. I'm all about gold right now and I'd seen a fabulous gold chandelier at the Cathedral Inspiration House back in January. I blogged about it here, remember this guy?

Reiner/White Design Studio.

The designers had kept the origianl brass chandelier, added some hollywood bulbs and some crystals and WHAM it was so dramatic and cool. I thought maybe we would do something like that, but, as the space came together, I realized this idea would only half work. The hollywood bulbs were a go, but the hanging jewels would hang down too far, getting in the way of the eating area on the table. Plus something this dramatic would block the view of the main wall of the kitchen.

So we added the hollywood bulbs, as seen above and again, paused on the chandelier, waiting for the right solution to come along. Side note: before the hollywood bulbs were installed the chandelier had  flame shaped bulbs. I don't have any pictures of that because they were so ugly I plucked them off and replaced them so fast I forgot to take a picture. 

Then, as is typical with great ideas, I was taking a shower when IT HIT ME. Paint it. The size of the chandelier was right, it only lacked interest. So why not just add interest through color? Brent and I discussed the idea and tossed around a few color options. Because there is no art on the wall yet, we had a pretty open pallet. We headed to our local hardware store yesterday and found ourselves surrounded by about a zillion and one color options.

We decided on this Krylon color, Blue Ocean Breeze.


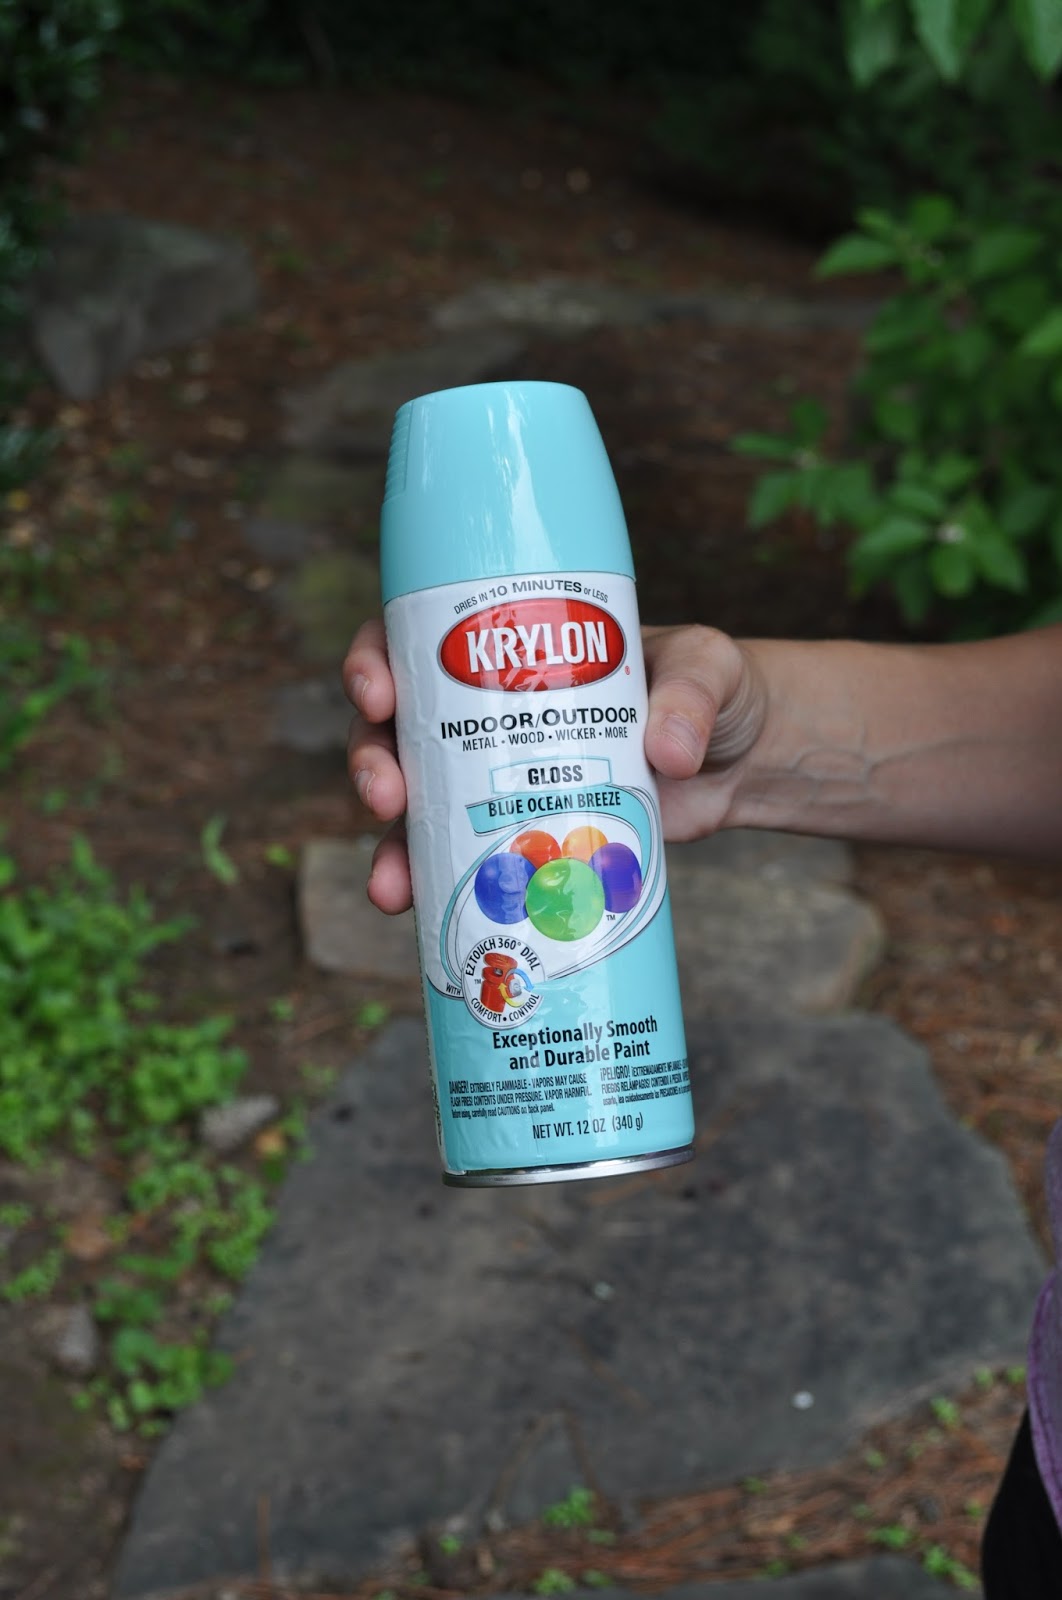
This is not the first we had seen of this color. In fact we have been admiring it, or something close to it for sometime.We first noticed this color popping up as we strolled through our neighborhood. Several houses had front doors painted in a color like this. We thought it was a fun vibe and decided it was meant to be when we saw the can of Blue Ocean Breeze on the shelf. I mean, go big or go home right? We figured if we hated the color we could paint over it or just move on to a different idea. But, standing there in that hardware store, this color spoke to us.

We took the chandelier outside and did the logical thing... hung it from a tree with fishing line. Don't worry, it was 50lb test line.


Once the chandelier was secured, we wiped it down, removed the white plastic candlesticks and taped off the light sockets.


As always, Luke was supervising. 


We sprayed.......


and sprayed.....


We were really happy with the Krylon spray paint.  It dried quickly and came out nice and smooth so there were very few run issues.

After all the brass was covered we let the chandelier chill in the tree and dry for awhile. 


Brent kept an eye on the light while he cooked us dinner on his new toy. HAHA

We went over the light with the paint a few more times, touching up any little slivers of brass we saw until it was completely covered and ready to come inside. 

Once inside Brent went right to work...


and....wah- lah! Isn't it fun? 


In a matter of hours we went from a YAWNNN light to a WHOA,  that's one blue light. It changed the feel of the space and already has me holding up art on the walls. I like it, but I'm not sure I love it. We've decided to let it be, live with it for a few days and then see how we feel. At the end of the day it may not be the solution for this space, but we could use it somewhere else (upstairs den?) or find it another home outside of ours. Regardless, the whole process was relatively easy, super inexpensive and gave this light a whole new life. While the results of this project, in this space are still TBD (to be determined) I decided to post the process because I think it was a worth while project that a lot of you can relate to and put to use on your own fixtures.

I know this is an unfair questions since most of you haven't seen the entire space, but what do you think? Does the light work or is it too much?

All photos are my own. 

Tuesday, June 25, 2013

My Kitchen Part 2 - Countertops

As is often the case, you can only remain topless and classy so long. Cabinetry speaking of course....:)

Last we talked the cabinets had been installed and we were ready for our countertops to be templated. Weeks earlier, while we were finalizing the designs for our kitchen, we took a break and headed to Construction Resources for a little countertop shopping. 

Lord knows there are a lot of countertop options out there, from natural materials like granite and marble to man-made materials like quartz and solid surface and Construction Resources has them all.  We went in with an open mind, not overly committed to one type of countertop, only to the idea that the top we chose needed to aid in opening up our space and add an additional layer of interest to the room. As we walked the isles contemplating all of the options we found ourselves being drawn to the marble slabs. The white marble slabs.  GASP!!!! As most of you know, marble is a natural stone with a bad rap for being porous and staining. Being in the design industry I've heard the horror stories and I was aware of the cons associated with marble, especially white marble. But, even with allllll that knowledge we couldn't shake the fact that the white marble would look the best in our small space.  We knew the white marble would blend in nicely with the cabinet and wall color (Benjamin Moore's White Dove OC-17), but would add drama and depth through the veining.

We were torn. Pretty vs. Practical. What a beast of a dilemma

And then boom. A halo formed around the marble with a simple phone call from my sales rep. A 15 year warranty from DuPont was available that would protect the countertop from food and liquid stains. It was an additional cost, of course, but SO WORTH IT. So, we signed on the dotted line and a few days after the cabinets were installed they came out to template.  Then a week later this load of awesomeness arrived in my driveway....


It was literally like Christmas morning watching these bad boys make their way into my house. 


I held my breath as they lifted and maneuvered the heavy tops on and around the new cabinets. Yes, I was THAT client that was watching the whole process like a hawk. I was everywhere, snapping pictures acting like this was my first rodeo. But you know what, this is my first house, so I guess I have an excuse to be a little nutty and overly excited. 


I mean, does it honestly get prettier than this? The movement and colors in this top are insane. It's literally so beautiful and the guys from Construction Resources did such a great job lining up the seams so the veins flow with such a fluid movement. 

A few days after the tops were installed the guys came back out to apply DuPont's StoneTech sealer

DuPont's StoneTech Professional Warranty
Photo from Dupont's website. 

The literature that came with the product says, "The beauty of natural stone with true peace of mind." Doesn't that say it all? Like so many people, Brent and I really plan to (already are) use and entertain in our kitchen and we did not want to be haunted by the possibility of ruining our beautiful countertops on a daily basis. A coffee spill and a red wine drip will no longer haunt our dreams. This sealer offers us true enjoyment and usability in our space. 

Needless to say the addition of the countertops really took the room and the house to a whole new level of awesome and beautiful. But, what happened next and then what happened after that. WHOA, yeah it could make your heart stop. Stay tuned.....::evil laugh::

Unless otherwise noted all photos are my own.

Thursday, June 20, 2013

Spotted - Two Magazines .One Blog Feature. One Week

My. Head. Is. Spinning. Three shout outs in one week?? WHAT!! I am so pumped to be included in not one but TWO magazines and one blog feature this week. Crazy thing is, ALL publications are centered around my selection in the National Kitchen & Bath Association's first ever 30 Under 30 program from earlier this year.

Here's a short run down of where my name (and my picture!) popped up this week:

My new last name and I can be found in the July issue of Atlanta Home Improvement Magazine.


Atlanta Home Improvement magazine did a little spread on the three NKBA 30 Under 30 honorees from right here Georgia. All three of us work for different design companies in the Atlanta area, but none of us knew each other before arriving in New Orleans. Small world!

The same day I received my copy of Atlanta Home Improvement magazine I got an e-mail from the marketing department at Wellborn Cabinetry letting me know they posted a blog feature on me, Courtney Foster SHEARER, that's right, the new last name popped up again! I wonder how long it will take for me to get used to seeing it? Or writing it? Or saying it?

Anyways......


Wellborn is a cabinet company out of Ashland, Alabama and my company, Bell Kitchen & Bath Studios sells their product. They interviewed me a few weeks ago regarding my involvement in the NKBA's 30 Under 30 program.  I was honored to see they included the interview in a blog post dedicated to me! Check out the post here.

And then, the very next day I walk into my office and see a copy of the May/June issue of K+BB magazine on my desk with a whole write up on the very first NKBA 30 under 30 Group.


The article explained the honor as well as listed the honorees, and BONUS 10 of the 30 also known as Group #1 got a nice photo op!


As I've mentioned many times, my selection as one of the 30 Under 30 was major and is truly like the gift that just keeps on giving. 29 new friends, fun filled days in New Orleans and now some publications to add to my repertoire, doesn't get much better than that!

All photos are from google.

Monday, June 10, 2013

Meet My Kitchen - Part 1

So...My house. Remember that project? Yeah, a  LOT has happened since I last updated you. In the midst of final wedding details, the actual wedding, the Luxury Living Show Kitchen and the two weeks in Italy for my honeymoon, the house has be-bopped along and a whole lot of progress has been made. It's officially a home. Not a dust pit, not a construction zone, but a home, our home.

With that being said I am WAY behind on updating you all and if I put all of the updates in one post you may be reading for a few days straight and that just can't be good for your eyes. So, I'm going to break it up a little, starting with the kitchen. WARNING: even within the kitchen itself there are many layers of progress, so this will definitely be My Kitchen part 1.  I could go to part 10, but I'll try to consolidate and hold back my long winded tendencies.

Last time we talked about the kitchen it looked something like this...


It stayed like this for weeks while we worked on other parts of the house and tweaked this space preparing it for it's new cabinetry. We had to paint, add some electrical, slightly rearrange the plumbing, add a gas line for the new range and have some HVAC work done to relocate a floor vent and prepare for the hood that would vent to the outside. You may also remember the addition of the picture frame moulding in the dining room that Brent installed in this post, it too was part of this prep stage for operation new kitchen. All of these tweaks and modifications were necessary, but other than the addition of the moulding and the painting not too much pizazz was added to the space during this period of renovation. So, while we were making progress, it didn't really feel like it, because there was a whole lotta work with no added pretty. It was more like added dust and backaches and then some more dust.

Finally after much sweat, dust and tears (Brent gets really emotional when he is able to successfully wire a new outlet) we found ourselves at the eve of our cabinet installation. We FINALLY got to take up the plastic that had been covering our newly refinished floors and the kitchen looked like this the night before the big install.


As some of you know I'm a designer at Bell Kitchen & Bath Studios and we make custom cabinets. And Thank God we do, because as you can see, and as I have said before this kitchen is small. Of course removing the wall between the dining room and kitchen as well as closing off the random door to the outside significantly increased the opportunity for functionality and really opened up the space, but still the space is small and the design had to be carefully considered (obsessed over) to ensure we made every bit of the space as functional as possible. We schemed and tweaked and literally thought through every single cabinet determining what would be stored inside. I will post a whole cabinet innards post at some point, but for now just know no cabinet in our kitchen just happened. It happened because we deemed it worthy or necessary to take up precious real estate in our small space.

It was D-day. The install team rolled up and got to work.


Our cabinets are from Bell's Studio frameless collection. The cabinets are maple and painted Benjamin Moore's White Dove, OC-17. We painted the walls the same color except for the under the chair rail which we painted Sherwin William's Caviar, SW6990. The existing crown molding was removed and replaced with new crown molding around the cabinets and into the dining room so everything was the same and there was no weird transition.


The kitchen and the dining room are now divided by a peninsula that houses the microwave, trash/recycling, cutlery divider and a few rollouts on the front side and a hidden cabinet on the back. 


Love the happy little corbels. 


By the end of the day...POOF - the beginnings of a kitchen! Stay tuned, the countertops were templated a few days later, more on that soon!


All photos are my own.